
Cultivation Process
Cultivation Process
So let’s discuss the actual process, methods, and setup you’ll need in order to successfully cultivate mushrooms. Ideally, a separate grow room with an autoclave, concrete floor, ventilation system, and restricted access would be nice. That likely isn’t practical for the home grower however; my operation lives in my spare bedroom, no autoclave and open access. A garage or outbuilding could certainly be used for this purpose, and since mushrooms need both heat and humidity, a greenhouse could serve very well. If you live in a cold climate, you might want to remember that no one likes to freeze! Please reference the lesson on growing conditions to determine what’s best for your situation and the lesson on contamination for ideas on how to keep your work space neat and clean.
The Fungal Lifecycle
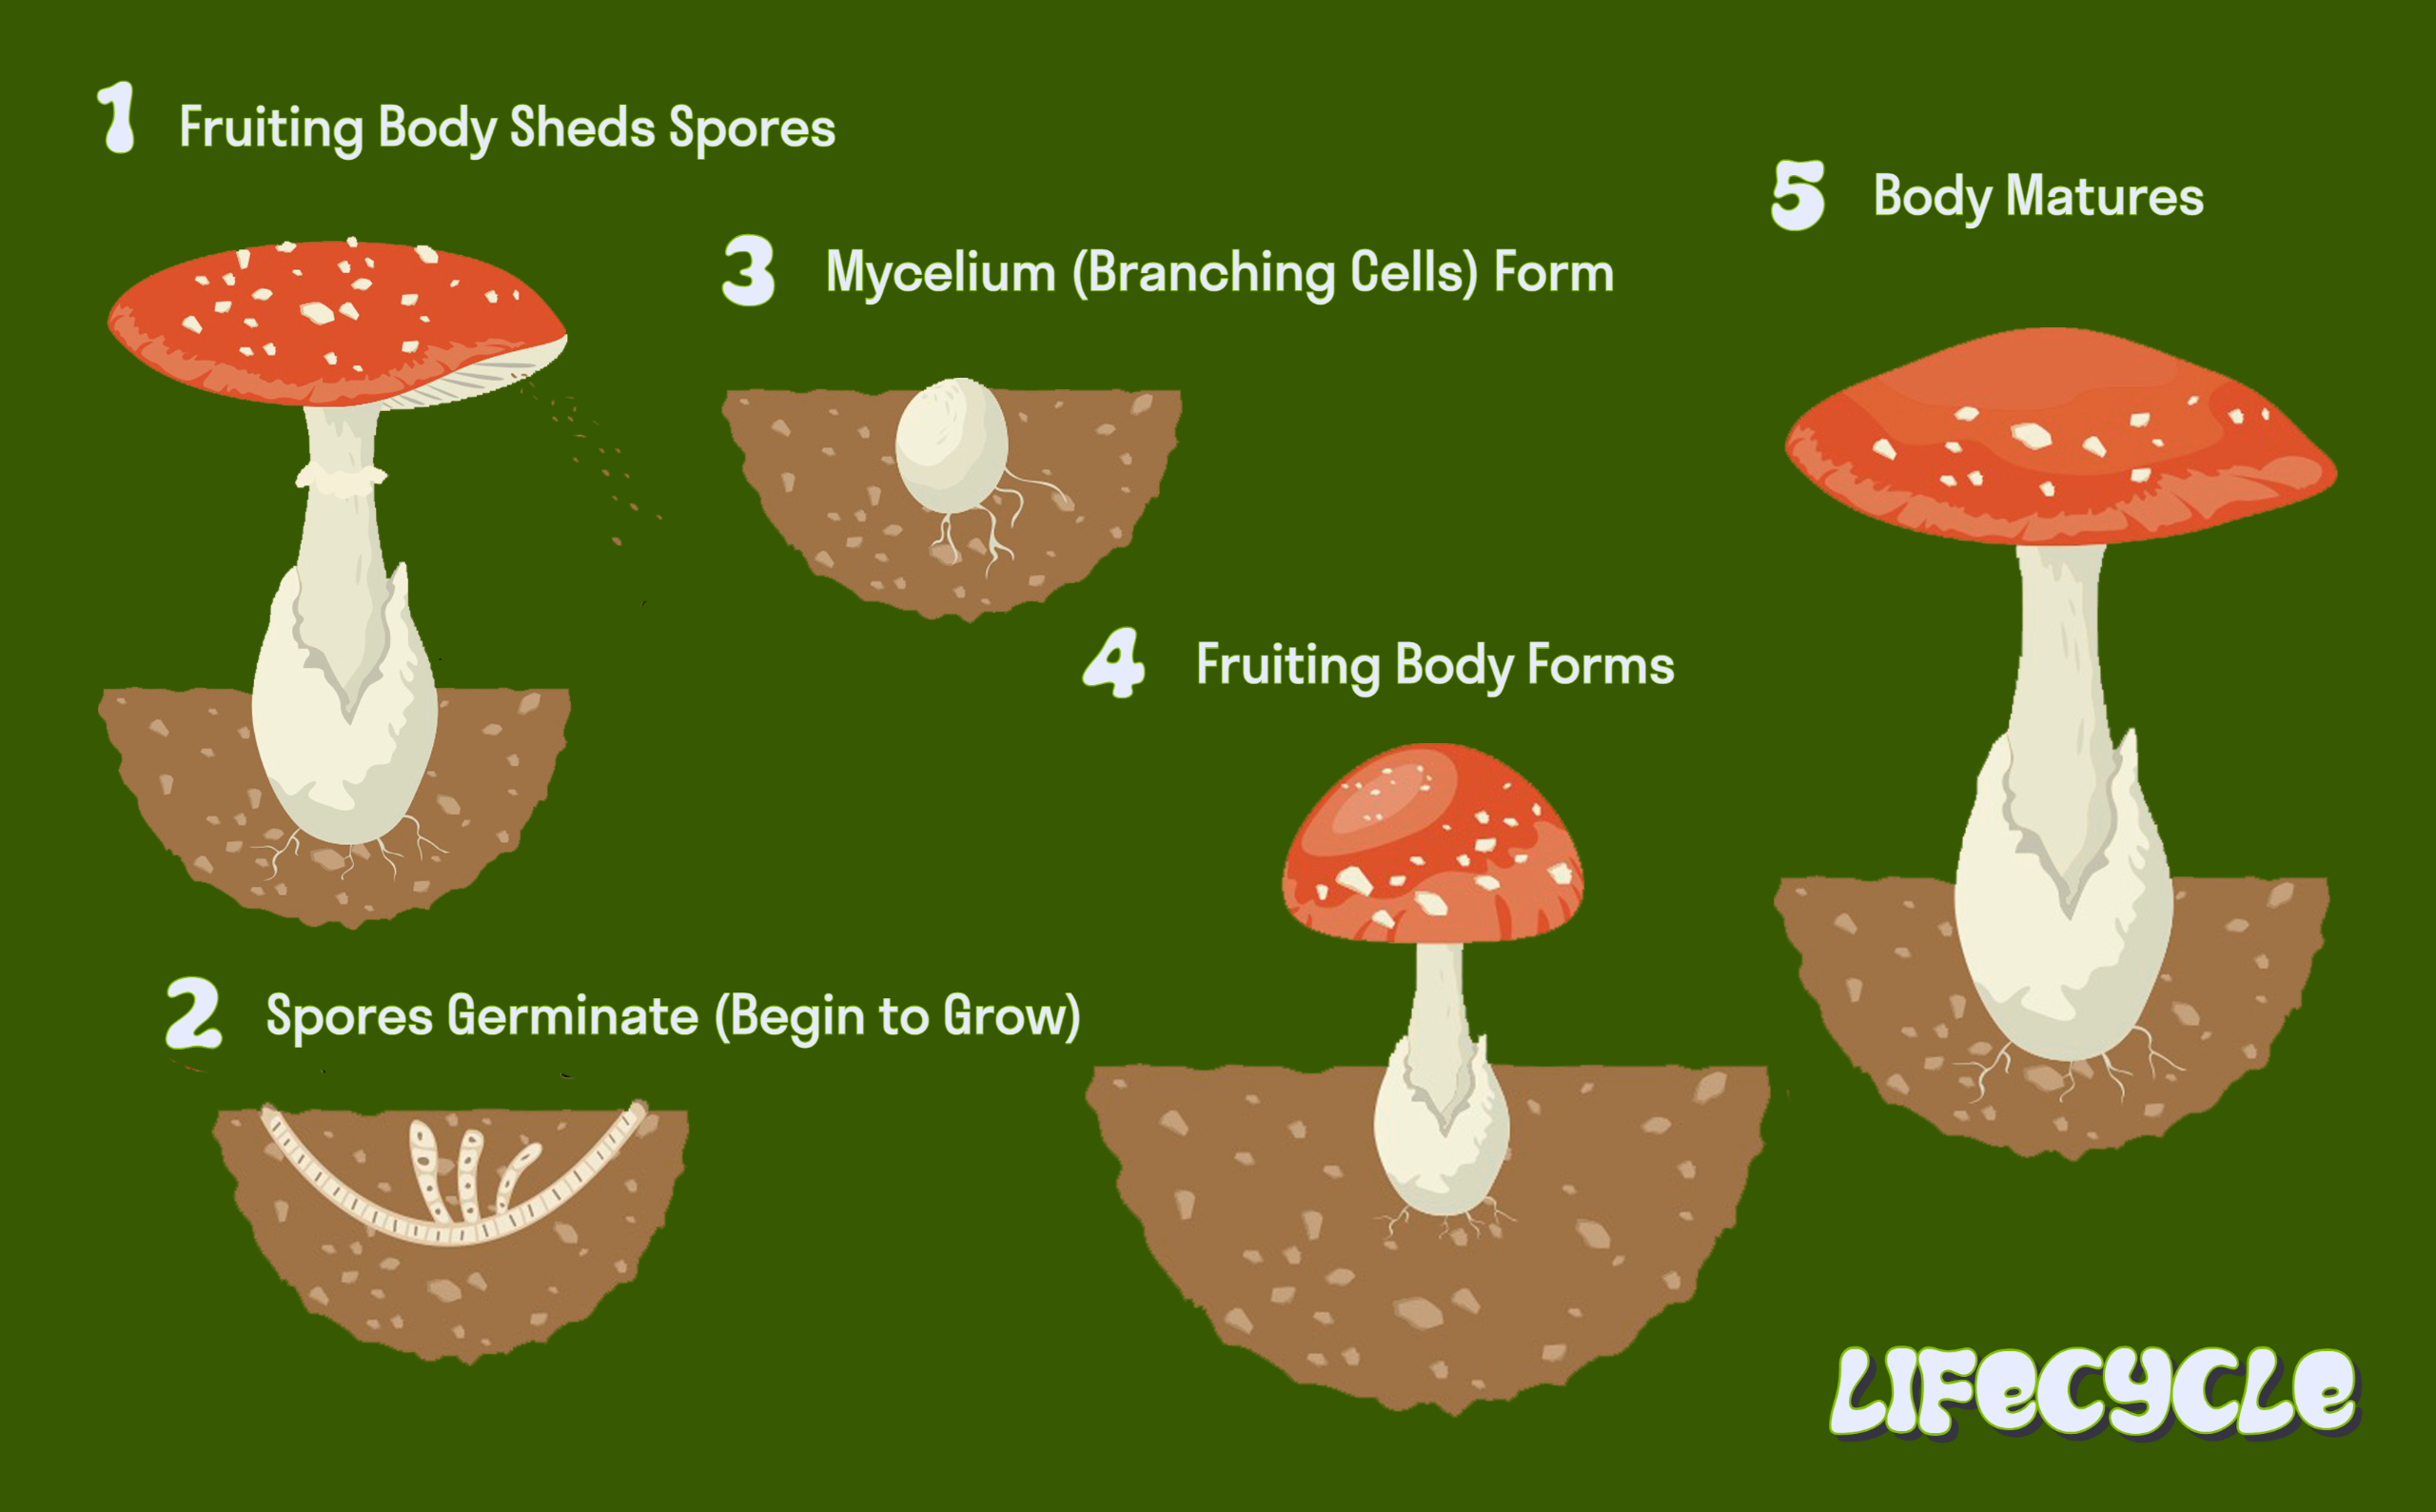
The fungal life cycle is a useful illustration here, and the basic process is the same whether indoors or outdoors. We obtain culture, inoculate spawn, use the spawn to inoculate the appropriate substrate, and give the organism the conditions it likes in order to grow and fruit. Then we harvest and either eat or preserve. Mushrooms can be preserved in a number of ways: cooking, dehydrating, freezing, made into a tincture or a tea.
So, let’s discuss the cultivation process in more detail.
Cultivation Process
Equipment
- Mushroom culture/spawn
- Substrate suited to your chosen mushroom species/cultivar
Preparation
We’ll assume here that your space is constructed and you’ve decided which method you wish to use on your chosen mushroom variety. Beginning growers might consider obtaining spawn commercially. There are many reputable sources and this simplifies matters.
Inoculation
Put simply, this is the process of introducing your mushroom to your selected substrate. If you’re using liquid culture to inoculate grain spawn via a specialized mycology lid, it’s very quick and easy. Inoculating sawdust bags with prepared spawn is a bit more time-consuming, while inoculating logs outdoors using peg spawn and a drill can be a day’s work very easily. Remember to sterilize everything! Flame that needle, work inside of your clean still air box, keep your dowels sealed in their jar until you’re ready to pound them in. Having lost week’s worth of my labor and supplies to contamination, I can tell you there’s no such thing as too clean! You can use as little as 1-2 mL of liquid culture or a small shake of grain, but I prefer to inoculate more heavily. This speeds up the process and helps prevent contamination by helping the mushroom quickly become the dominant species in the substrate.
Colonization
Once the substrate is inoculated, the colonization process begins. The mycelia grows throughout the medium, appearing as white fibers as it develops into a mat. Standard wisdom says the process takes 1-2 weeks; my grow room is a bit cooler than optimum so for me, it takes longer. I’ve seen my jars fully colonized on the outside while there was plenty of unused grain in the center. No worries! The spawn can still be used to inoculate other things. This is done if you wish to expand your spawn, for example. In theory, this can be done indefinitely as long as there’s no contamination.
The grow chamber is one place used to fruit mushrooms. These can be made from just about anything, including plastic totes and small greenhouses. There are DIY instructions easily available on several websites and YouTube, or you can buy a kit. The bottom is lined with perlite or a secondary substrate. Inoculated spawn is placed directly on that substrate and allowed to fully colonize. Mist regularly and provide about 8 hours of light per day, and hopefully your shrooms will be pinning in a week or so after casing. This refers to covering the substrate with a material such as coco coir or peat moss, or even garden soil. Casing protects the substrate from contaminants and helps retain moisture levels.
If you’re growing on supplemented sawdust or straw indoors, the basic method is to cut the plastic once the substrate is fully colonized, keep the block/bag well misted, and wait for the fruit body to form. I’ll cover that a bit more below.
Fruiting
Fruiting is the formation of the mushroom we’re looking for. How long this takes depends on mushroom variety and substrate, and some mushrooms will give more flushes than others. Keep your substrate misted and watch for contamination, and hopefully you’ll enjoy a bountiful-
Harvest
Harvest is typically done before the cap opens up and sheds its spores, unless of course you want those spores for spore sprints or syringe solutions. I use a small pocketknife to cut the shroom about substrate level. Others pull the shroom out a bit, which leaves a hole in the substrate that you’ll want to plug because it can be a bit prone to contamination. If you accidentally cut a smaller shroom nearby, take it. It’s also a contamination vector if left, and the fungus will simply divert energy to developing other shrooms. Then it’s a matter of preserving your bounty; fresh mushrooms don’t last very long even in a paper bag in the refrigerator. What I can’t eat, I either dry or use to make tincture. Dried shrooms are easily rehydrated for cooking later.